
I wanted to expand upon my last two posts regarding long exposure night photography. But Instead of going into depth on another central aspect of this kind of shooting, with this post I want to cover a few specific tips and tricks that are a bit more on the technical side of things.
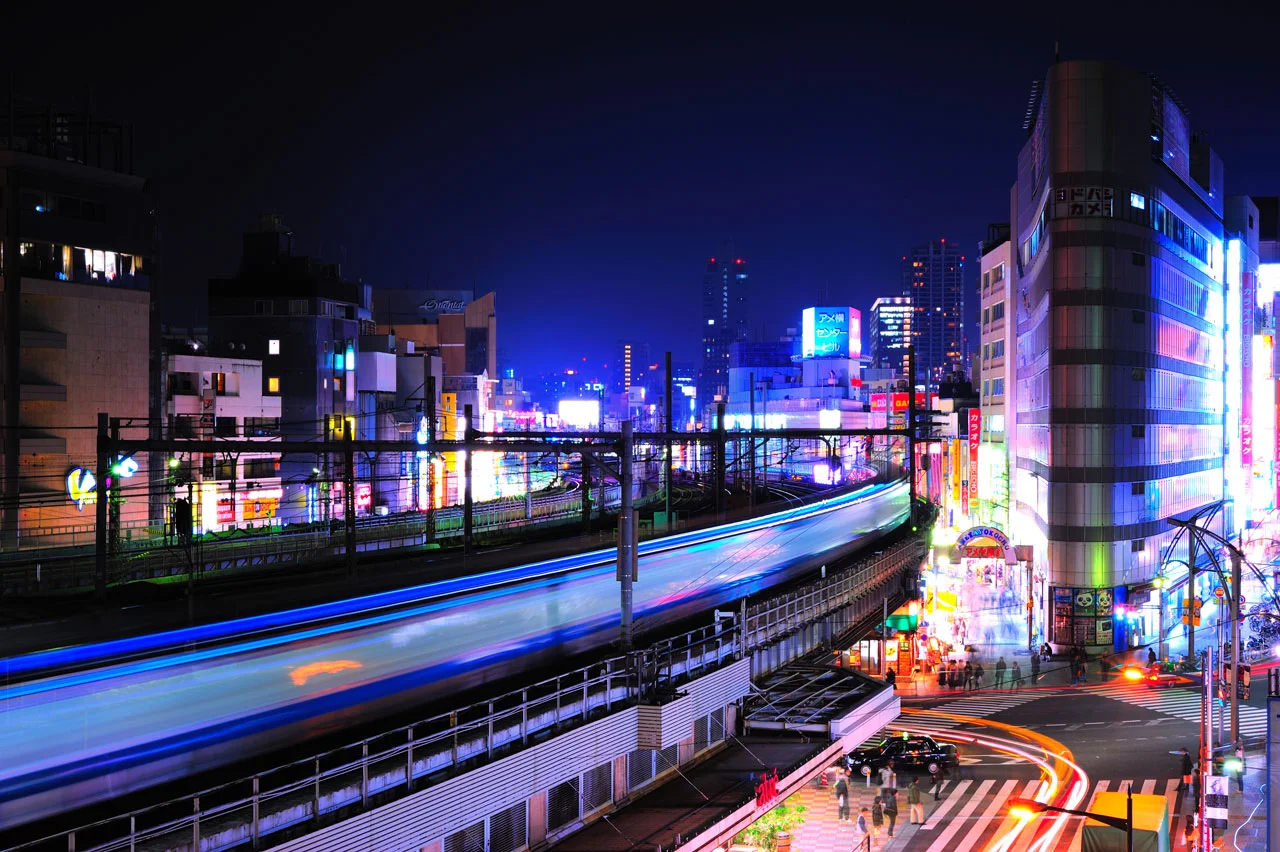
Settings — 13 seconds, f/16, ISO 100
Turn Off VR / OS / OIS / Stabilizer
First off, a simple tip and a word of caution: turn off picture stabilization. Lots of cameras these days can try to reduce vibration in order prevent motion blur at lower shutter speeds. When shooting in low light conditions, shutter speeds can get a bit slow, and the camera will use a moving element in the lens or in the body in order to stabilize the image, preventing blur.
Image stabilization is great when you’re shooting by hand, but not so great when the camera is on a tripod. Though some of the newer cameras are smart enough the deactivate this function when they are stationary, it’s a good idea to turn this off completely when doing long exposure photography. Some cameras have a physical switch on the lens for this function, while others have the option buried in the menus. Of course, once the camera is off the tripod, be sure to turn this back on as it’s a very useful function in most situations.
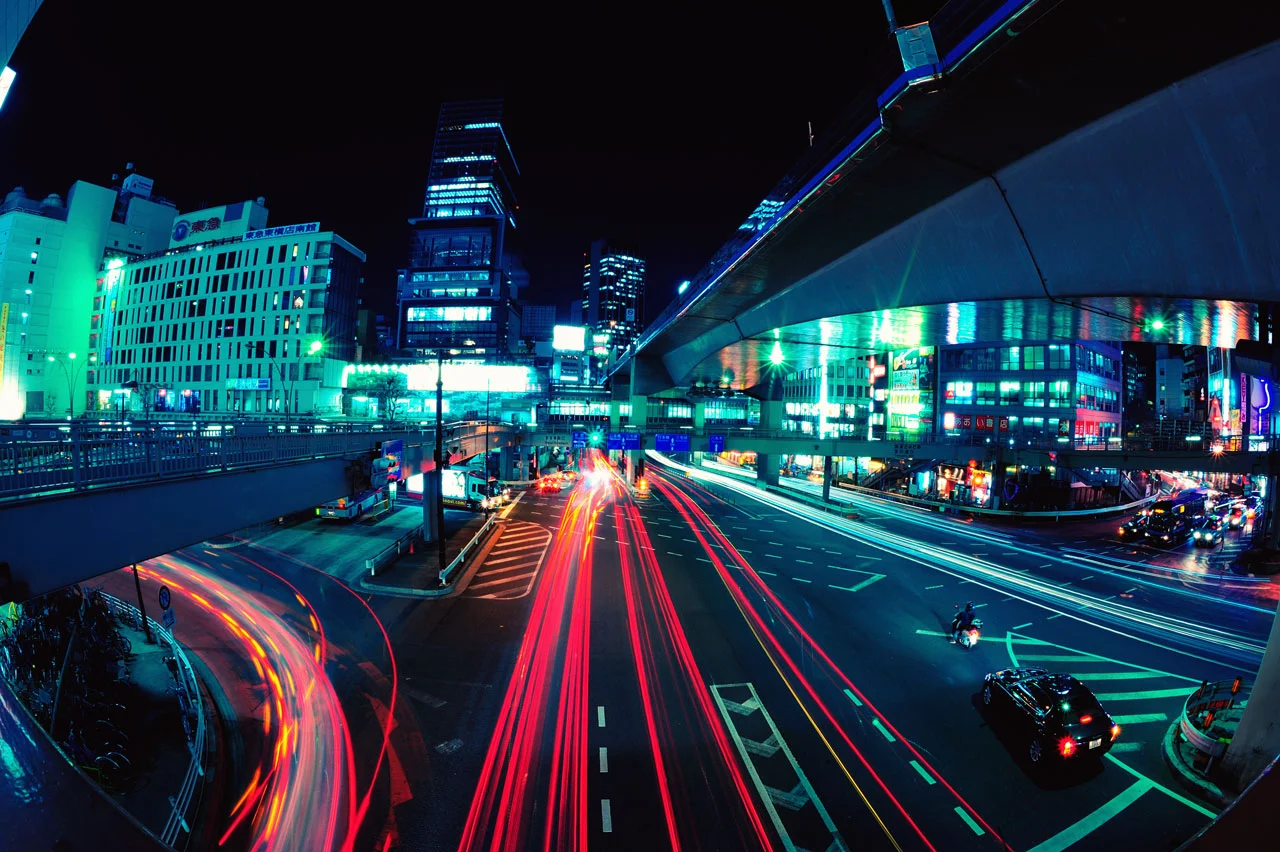
Settings — 15 seconds, f/22, ISO 200
White Balance
Let’s talk about color. One of the original ways in which photographers could affect the colors of the photo was through white balance. For example, if you are shooting indoors (say at home or at a bar) it’s likely to be lit by tungsten filament light bulbs, also known as incandescent lights. These bulbs do not emit white light, rather they cast a yellowish light. If we set our camera to ‘incandescent’ or ‘tungsten’ (often labeled one or the other on most digital cameras) then the camera will compensate for the yellow tint by making the photo very blue in tone. The result is a white balanced photo.
But what happens if we set the incandescent white balance when shooting outside in a city like Tokyo, which is mostly lit by fluorescent lights and LEDs? Well, those lights do not cast a strong yellow light, so the photo ends up overly blue. This is the ‘wrong’ white balance but it can create beautiful contrasts when shooting the red taillights of passing cars.
If you’re shooting in JPG then I highly recommend experimenting with the white balance in the camera, as it can be difficult to change in post. If you’re shooting in RAW, then the white balance can be changed later, but if you’re new to this setting then it’s best to play around with to get an idea of what the different white balance settings do for your long exposure night photos. At the very least, seeing the differences will leave you with ideas on how to edit your photos in post.
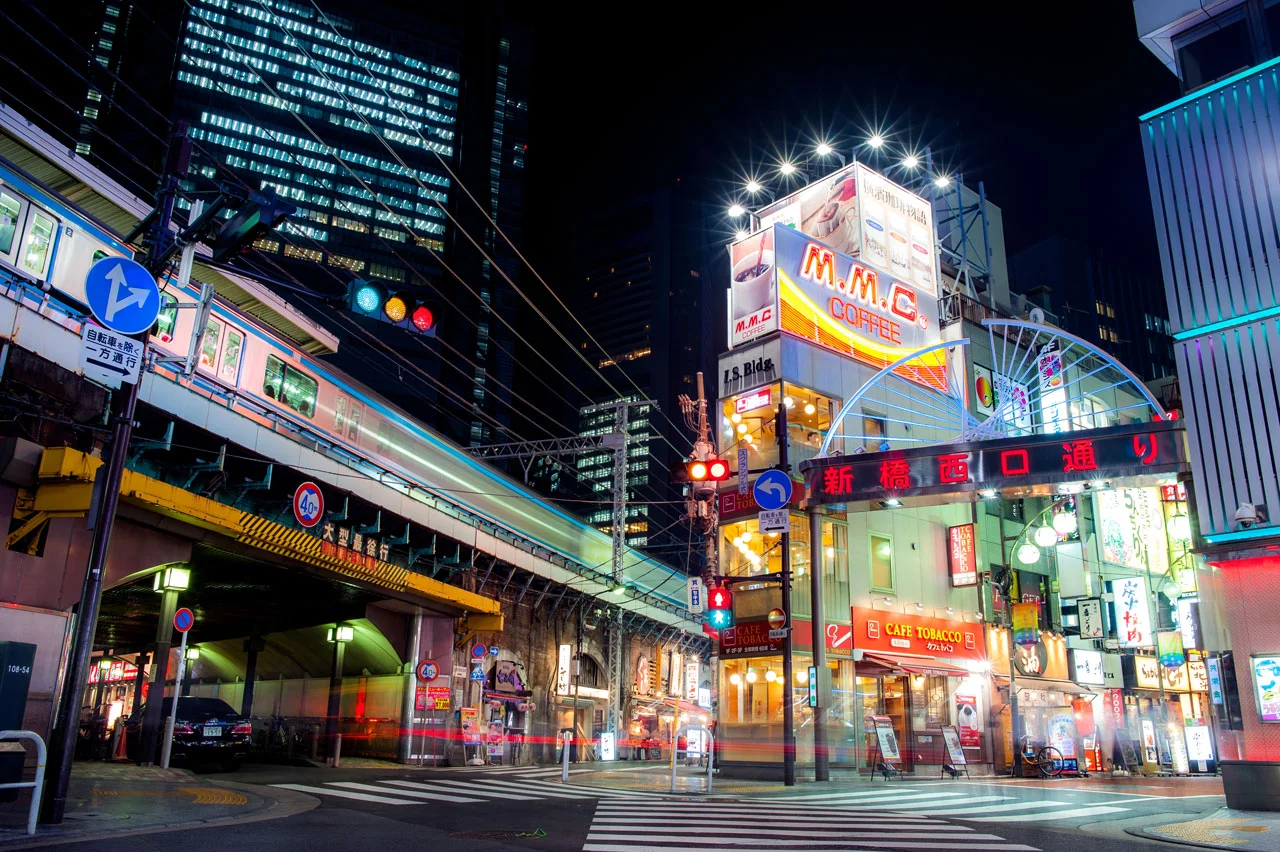
Settings — 10 seconds, f/11, ISO 200 — composite of 2 frames
Noise Reduction
Why does the camera sometimes say ‘Processing’ after taking a long exposure photo? (Some cameras don’t say anything, but simply keep the screen black for a few seconds after the shot.) A common misconception is that the memory card is slow or there is a lot of data to write after a long exposure.
To the contrary, the real reason has to do with noise reduction. Most digital cameras these days will perform a special kind of noise reduction to long exposure photos (typically photos longer than 1 second). When taking a multi-second exposure, the might end up with what’s known as ‘hot pixels’—pixels that get overly saturated and produce pure white dots in the image.
To remove these hot pixels, the camera will take a second ‘photo’ immediately after the actual shot. For example, if you do a 4 second exposure, after the photos is taken the camera will close the shutter and then take another ‘black’ photo with the shutter closed. This second exposure has to be the same length as the original shot. So, a 10 second exposure means a 10 second processing time.
What the camera does is it maps out the hot pixels and then subtracts them from your photo, resulting in a clear, noise-less image. Now, if the processing time is a problem most cameras allow you to turn off this feature, often labeled ‘long exposure noise reduction.’ However, I generally do not recommend turning it off, as this kind of noise is very difficult to properly fix in post.
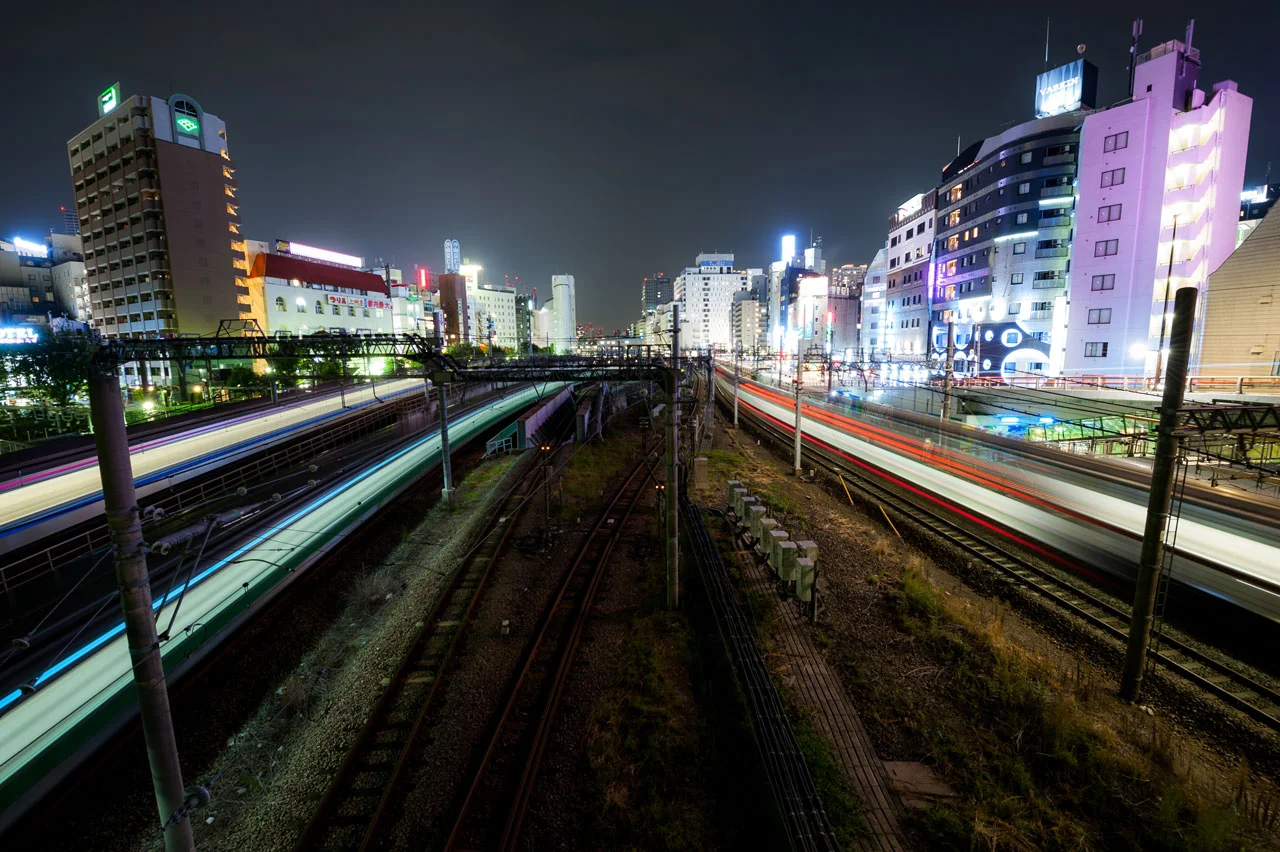
Settings — 5 seconds, f/8, ISO 200 — composite of 4 frames
Focusing: First Auto, Then Manual
(or just back-button focus)
Auto-focus generally does a good job on most cameras when shooting urban landscape photos. However, sometimes there tends to be a lag which can cause problems when perfect timing is required. And anyway, while the camera is stationary on a tripod, focusing again and again every time you take a shot is rather tedious. Therefore, a simple and effective technique is to focus automatically one time, then switch to manual. This way the focusing is done by the camera once and then locked once you switch to manual. Just be sure to put it back on auto when you recompose your shot or move to a new spot.
More advanced users might also prefer to use ‘back button focusing’ (which is what I personally always use). Some cameras allow you to change which button activates focus. Typically, the same button that releases shutter is also responsible for activating the auto-focus. On my camera, I’ve set another button on the back side of the camera to activate focusing, while the shutter release does only one thing—it takes the picture. This is useful for urban landscape photography as I can focus once with the back button and then take as many shots as my heart desires without having to focus again.
Lots of photographers use this technique, but at first it does take some getting used to. I tried it for a few weeks, gave up for a while, tried again, and then finally fell in love with back button focusing. Give it a shot!
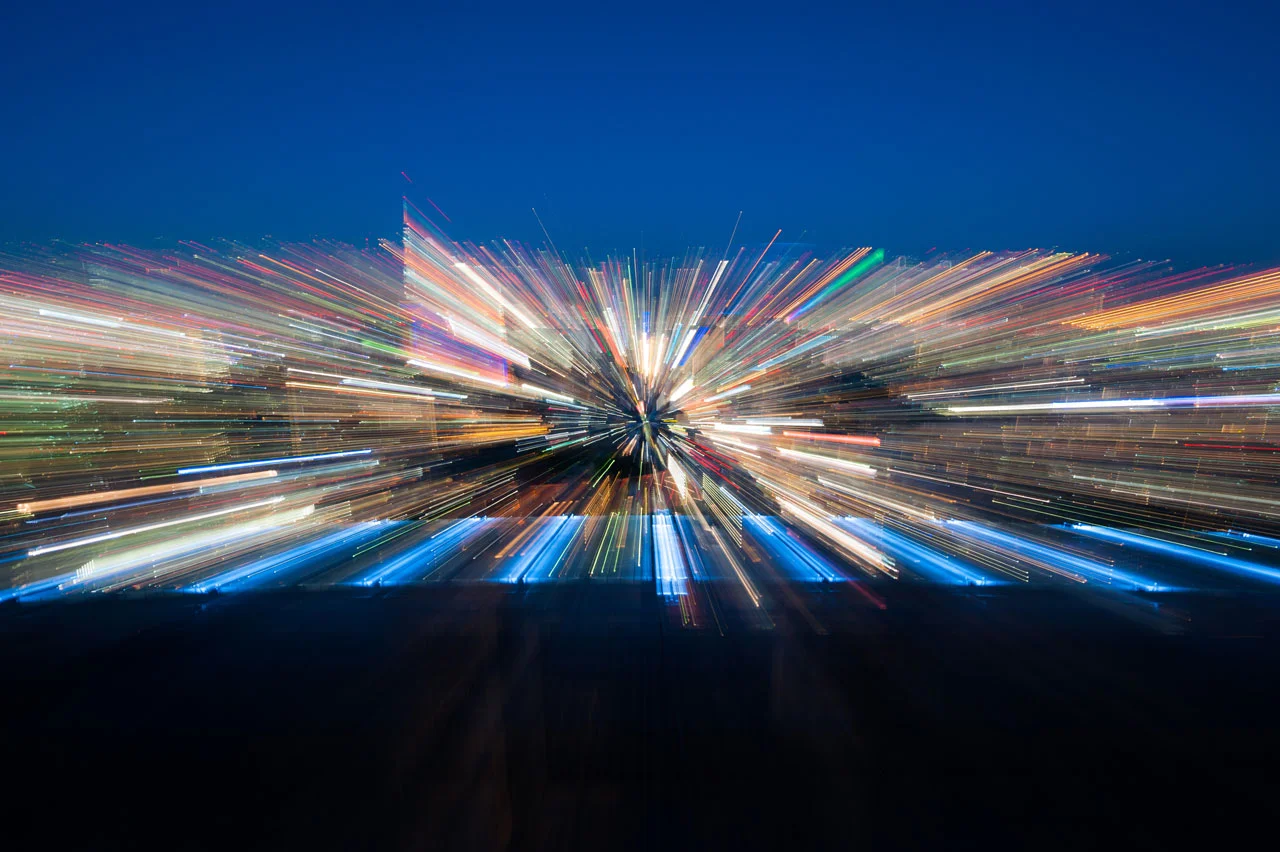
Settings — 5 seconds, f/11, ISO 200 — Zoom Blur
Zoom Blur
Zoom blur is a fun and easy technique that can result in stunning images. It’s very simple once you get the hang of it. Let’s say you’re doing a 4 second exposure of a cityscape. If you have a zoom lens, start zoomed out (the widest end of the zoom range), press the shutter release so the camera starts taking a photo, and then simply zoom in all the way. The resulting photo will be blurred towards the center of the image. This is called a zoom blur.
That’s really all there is to it. Try experimenting with different exposure times and different rates of zooming. You can also try to start zooming first, then releasing the shutter while you’re already zooming. Another way is to zoom in stages, stopping for a moment every second, resulting in another effect. The point is to just have fun with this simple trick!
Compositing in Photoshop
I have one last thing to help you create rich and vivid urban long exposure photos: compositing. If you’ve taken some long exposure photos of traffic, but the number of light trails in any single photo is a bit lacking, then you can try compositing them in Photoshop. In short, you should have a few identically composed shots (meaning that the camera did not move between shots) and then stack them up in multiple layers. In Photoshop, you can open your photos in a stack by going to File > Scripts > Load Files into Stack… Once there, be sure to select ‘Attempt to automatically align source images’ in order to ensure that everything is aligned properly.
Once the photos are open and stacked in layers, simply select all the layers and change the blend mode to ‘Lighten’. This will allow only the lighter parts of each image (mainly the light trails) to show through the whole stack of photos, effectively compositing all the light trails. That is the gist of it, though there is a lot more to this technique to pull it off really perfectly, but that’s a whole other post for another day. :)
I hope these 5 tips help you when shooting urban long exposures in Tokyo or anywhere in the world. Remember, we cover all this and more on EYExplore's Tokyo By Night Photo Adventure, so please check us out if you happen to be in Tokyo! Good shooting and as always… challenge your eye!